This article explains how to switch between and play multiple sound resources (music and sound effect files) with a single “AudioStreamPlayer” node.
Basically, only one sound resource can be set per “AudioStreamPlayer” node. In other words, you must add “AudioStreamPlayer” nodes in the scene tree for each sound resource. You may feel useless in a situation where there are multiple nodes in the scene tree with the same settings except for the sound resource (as shown in the screenshot below), and you may also feel a little uncomfortable with the lack of visibility in the scene dock.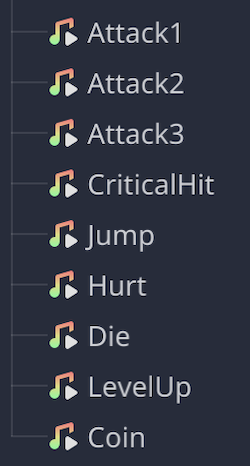
So, if you have multiple sound resources that are never played simultaneously (e.g., multiple sound effects for different types of character attacks, multiple sound effects for different types of buttons on the UI, etc.), add only the minimum necessary “AudioStreamPlayer” node for each use to your scene. If you code a program that switches sound resources according to the situation, there will be no waste and the scene dock will look cleaner.
In this tutorial, we will prepare only one “AudioStreamPlayer” node and control the sound resources to be applied to it so that they can be switched and played from a script.
Environment
Godot version: 3.5.1
Computer OS: macOS 12.6
Basic Articles
You may also find the following articles useful.
Downloading Godot
Project Manager of Godot3
Preparation
Project Settings
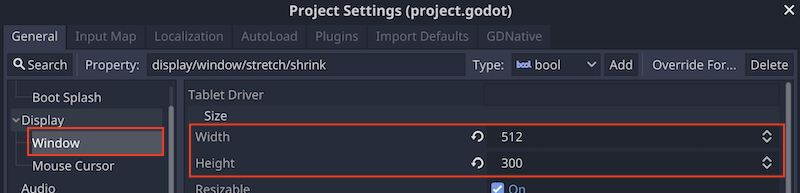
After starting a new project, go to the “Project” menu > “Project Settings” and make the following settings.
- In the “General” tab > “Display” on the sidebar > “Window” > “Size” section, set the window size as follows
Import Sound Resources
Six .wav files (sound effects) are available in the following Dropbox shared folder.
Drag and drop the entire downloaded “audio” folder into the file system dock to add it to the project.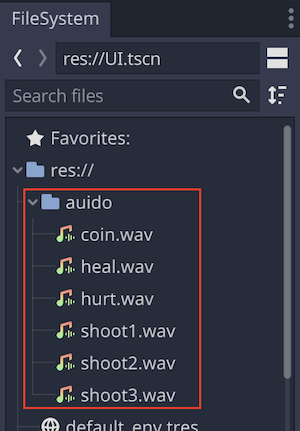
Create a scene
Create the following scene tree. This time, the tree is the simplest ever.
- UI (Control)
- SoundLabel (Label)
- AudioStreamPlayer
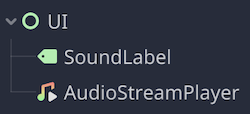
When the scene tree creation is complete, save the file as “UI.tscn”.
Edit the nodes
UI (Control) root node
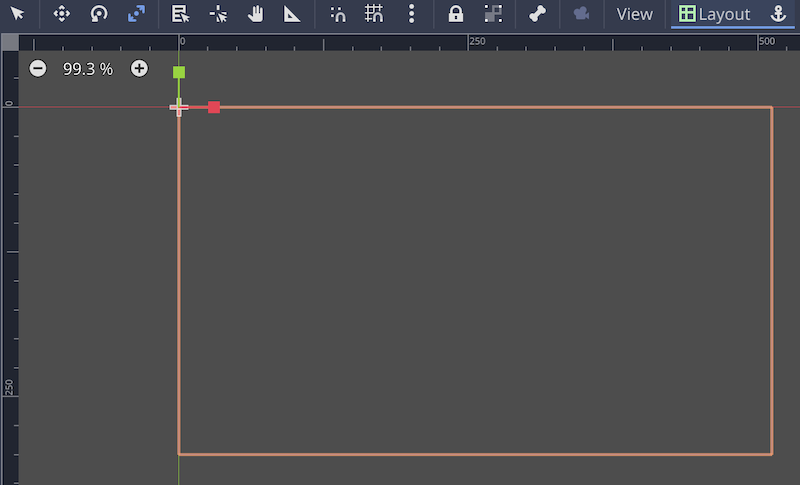
Expand the root node “Anchor” so that it is the same size as the screen. The reason for this is that we want to center the child node “SoundLabel” on the screen after this.
- Select “Layout” > “Full Rect” from the 2D workspace toolbar. The “Anchor” property will now be automatically adjusted and the 2D workspace will look like this
SoundLabel (Label) node
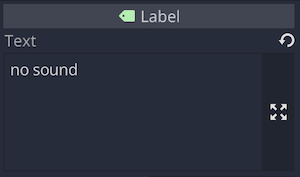
This node is used to display the path of the sound resource currently applied to the “Stream” property of the “AudioStreamPlayer” node. This allows you to see at a glance which resource file is currently being set and played when you run the project to check its operation.
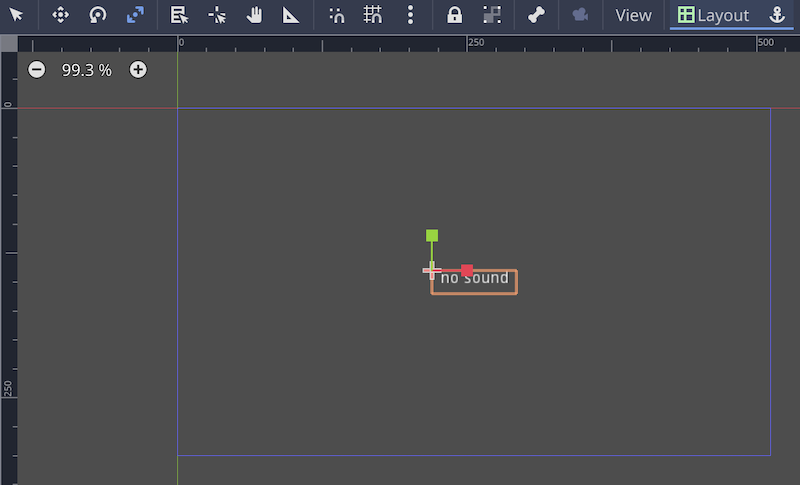
- In the inspector, temporarily put “no sound” in the “Text” property.
- Change the “Align” property to “Center”. This will center the “Text” string horizontally.

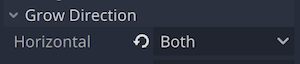
- Change the “Grow Direction” > “Horizontal” property of the “Control” class to “Both”. Now, even if the number of characters in “Text” increases, it will always be displayed in the center of the screen because it will be enlarged in both left and right directions.
- Select “Layout” > “Center” from the 2D workspace toolbar.
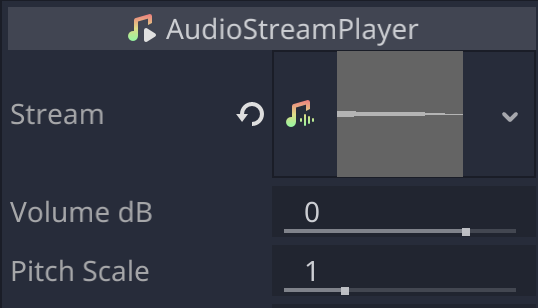
AudioStreamPlayer node
This node is used to set a sound resource and play it back. Although the node is originally designed to allow only one sound resource to be set, for this tutorial, we will use this single node to switch between multiple sound resources. The control of this will be done later in a script, but for now, let’s set up the node.
- Drag and drop “res://auido/coin.wav” from the sound resource file imported from the file system dock to the “Stream” property of the inspector and apply it. This will be the default sound resource for now.
Attach a script to the root node
Now it is time to create a script to control the configuration and playback of sound resources. First, attach a new script to the root node “UI”. The file name of the script should be “UI.gd”. After attaching the script and opening the script editor, edit the code as follows:
###UI.gd###
extends Control

# Array of preloaded sound resources
const sounds = [
    # default resource as 1st element
	preload("res://auido/coin.wav"),
	preload("res://auido/heal.wav"),
	preload("res://auido/hurt.wav"),
	preload("res://auido/shoot1.wav"),
	preload("res://auido/shoot2.wav"),
	preload("res://auido/shoot3.wav"),
]

# Index (from 0 to 5) to specify the resource to be set to
# AudioStreamPlayer among the elements of the array sounds
var index: int = 0

# Reference to SoundLabel node
onready var sound_label = $SoundLabel
# Reference to AudioStreamPlayer node
onready var player = $AudioStreamPlayer


# Built-in function to run when node is loaded
func _ready():
    # Call a method to play sound (defined later)
	play_sound().


# Built-in process function (called every frame)
func _process(_delta):
    # If the right arrow key is pressed
	if Input.is_action_just_pressed("ui_right"):
        # If current index is less than last index of array sounds(5)
        # Add 1 to the current index if it is less than
		if index < sounds.size() - 1:
			index += 1
        # If current index is less than last index(5) in array sounds,
        # set index back to 0
		else:
			index = 0
        # Call a method to play a sound (defined later)
		play_sound()

    # If the left arrow key is pressed
	if Input.is_action_just_pressed("ui_left"):
        # If current index is greater than 0
        # Subtract 1 from current index
		if index > 0:
			index -= 1
        # If current index is 0 set the index to the same (5)
        #  as the last index in the array sounds
		else:
			index = sounds.size() - 1
        # Call a method to play sounds (defined later)
		play_sound()

    # If spacebar or enter key is pressed
	if Input.is_action_just_pressed("ui_accept"):
        # Call a method to play sound (to be defined later)
		play_sound()


# Method to play sound
func play_sound():
    # Get the element corresponding to the current index from the array sounds
    # Apply it to the Stream property of AudioStreamPlayer
	player.stream = sounds[index].
    # Set the resource path of AudioStreamPlayer's Stream property
    # to SoundLabel's Text property.
	sound_label.text = player.stream.resource_path
    # Play the sound resource of AudioStreamPlayer's Stream property
	player.play()
This completes the editing of the script.
Note that this time I used preload so that sound resources are also loaded when the node is loaded. This may be a good way to avoid delay if the game has a lot of processing. On the other hand, if the game does not require much processing, you can use load to load the resource files just before playback.
Running check
Finally, run the project or scene to check the operation.
As implemented so far, the following keyboard operations can be used to switch sound resources and play them back.
- Right arrow key: Switch to the next sound resource on the
soundsarray in the “UI.gd” script and play it. - Left arrow key: Switch to the previous sound resource on the
soundsarray in the “UI.gd” script. - Spacebar / Enter key: Play the currently set sound resource
Conclusion
This tutorial has shown you how to switch between multiple sound resources for playback in a single “AudioStreamPlayer” node. Let’s summarize the important points.
- A single “AudioStreamPlayer” node can switch between multiple sound resources.
- The above method is implemented to avoid the waste of adding multiple “AudioStreamPlayer” nodes with almost identical settings and to improve the visibility of the scene tree.
- Sound switching and playback is controlled by scripts.
Of course, if programming is not your forte, adding as many “AudioStreamPlayer” nodes as the number of sound resources to the scene is perfectly acceptable. What we have introduced here is just one methodology, so please feel free to do as you wish, especially in the case of indie development.